






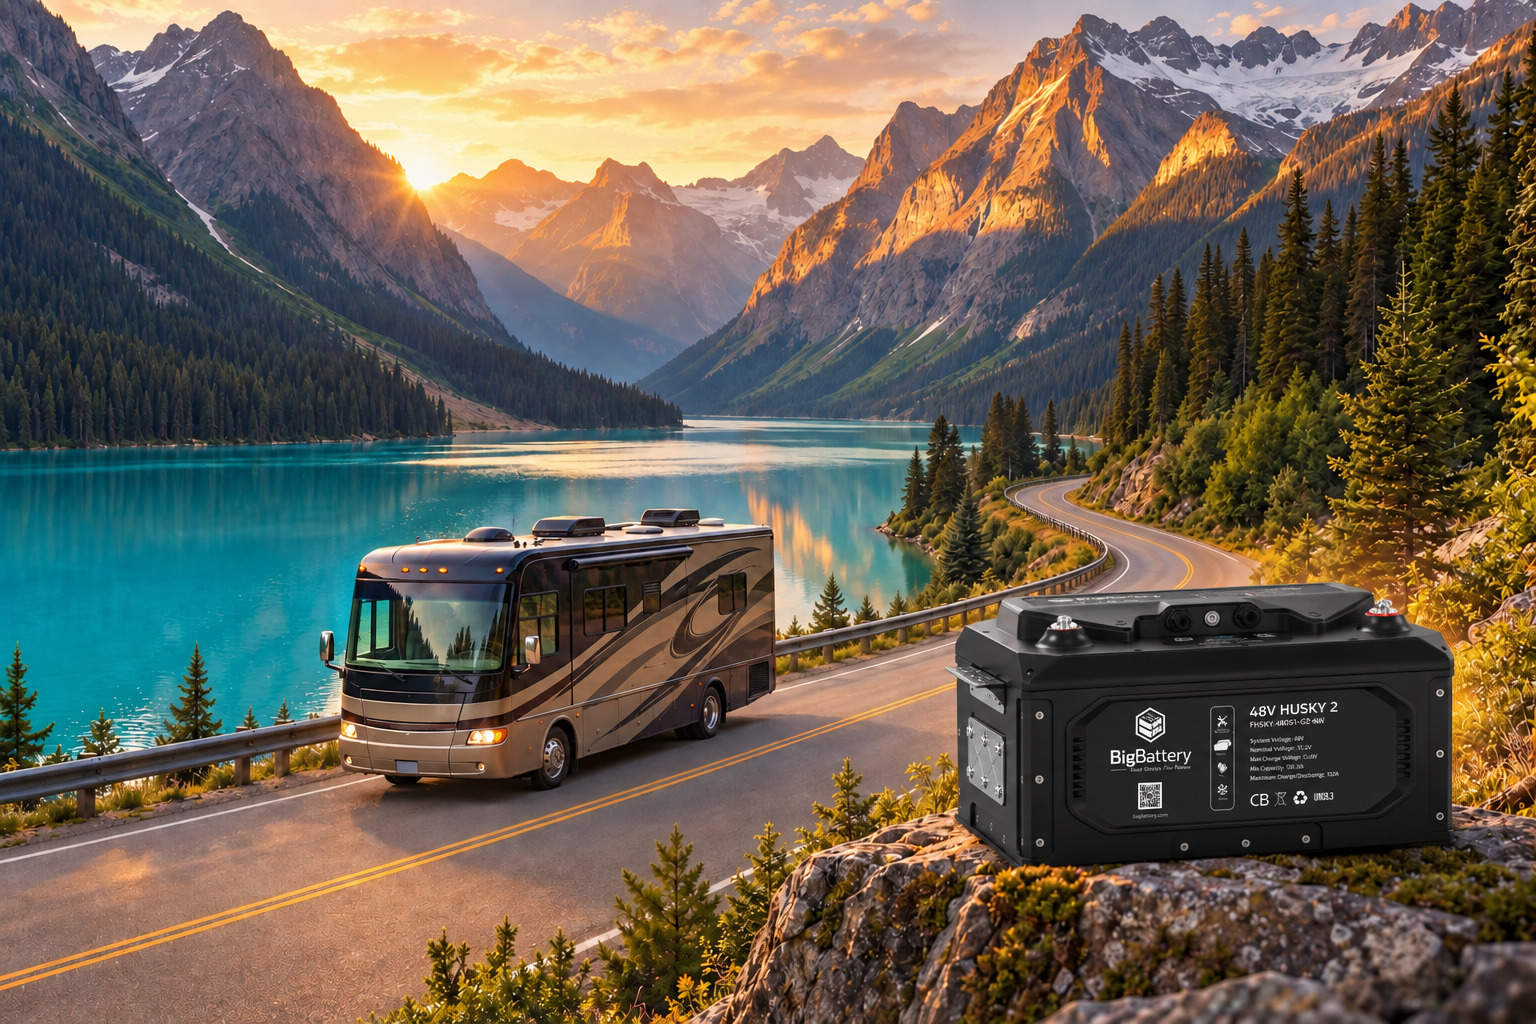
A dead battery bank at a dispersed campsite is more than an inconvenience. It can mean no water pump, no furnace blower, no refrigeration backup, and no practical way to work from the road. A properly planned RV lithium battery upgrade changes that equation by delivering more usable energy, faster charging, and far less maintenance than conventional lead-acid batteries.
But lithium is not a drop-in answer to every RV power problem. Battery capacity, charging sources, wiring, inverter demands, and cold-weather travel all need to work together. Get the system right, and you gain dependable power without carrying unnecessary weight or paying for capacity you will never use.
Why an RV lithium battery upgrade pays off
Most RVs leave the factory with flooded lead-acid or AGM batteries. Those batteries can work well for light, occasional use, but they have limits that become obvious when you camp off-grid. To protect their service life, lead-acid batteries are commonly used to only about 50% of their rated capacity. A 100Ah lead-acid battery may provide roughly 50Ah of practical energy before recharging is wise.
A 100Ah LiFePO4 battery can typically provide far more of its rated capacity. Lithium batteries also hold voltage better under load, so appliances and electronics see steadier power as the battery discharges. They recharge much faster when the charger, alternator, or solar array can supply enough current.
The weight difference matters too. Replacing a large lead-acid bank can remove a meaningful amount of weight from the tongue, storage bay, or rear compartment. There is no watering schedule, no acid spill risk, and no corrosion from routine battery maintenance. With a quality LiFePO4 system rated for thousands of cycles, the long-term ownership math can look very different from repeatedly replacing lead-acid batteries.
That said, lithium costs more upfront. It makes the most sense for RV owners who boondock regularly, run an inverter, rely on solar, travel for extended periods, or simply want a battery system that is ready when they need it.
Start with energy use, not battery size
The right RV Lithium Battery Upgrade is based on what you actually run between charging opportunities. Start by identifying the loads you expect to use in a typical 24-hour period: lighting, water pump, furnace fan, vent fans, refrigerator controls, CPAP equipment, laptops, TV, microwave use through an inverter, and any other 12V or 120V appliances.
Watts multiplied by hours equals watt-hours. For example, a 60W laptop charger used for three hours consumes about 180Wh. At a nominal 12V battery voltage, that is roughly 15Ah before accounting for inverter losses. A modest overnight setup may need 100Ah of lithium capacity. An RV with remote work gear, a residential refrigerator, an inverter, and several days between sunny charging windows may need 200Ah, 300Ah, or more.
Build in a real-world reserve
Do not size a bank for the absolute minimum. Cloud cover, shaded campsites, short winter days, and unexpected furnace use can quickly change your power budget. A reserve also prevents a low state of charge from dictating your travel schedule.
For many 12V RV systems, 100Ah is a practical entry point for weekend camping with light loads. A 200Ah bank is often a better fit for regular boondocking. Larger battery banks are appropriate when paired with a properly sized inverter, solar array, and charging equipment. The goal is not the biggest number on the spec sheet. It is enough usable energy for your actual routine with room for the conditions you cannot control. Our 12V Husky 2 INV offers 400Ah per battery, far exceeding standard expectations.
Choose voltage before adding capacity
Most travel trailers, fifth wheels, and motorhomes have a 12V DC house system, making 12V LiFePO4 batteries the natural replacement choice. They integrate with existing lights, fans, pumps, and DC appliances while keeping the RV Lithium Battery Upgrade familiar.
Higher-voltage battery configurations can make sense in larger builds, especially where a substantial inverter system is involved. A 24V or 48V battery bank reduces current for the same power level, which can allow for smaller cable sizes and more efficient inverter operation. However, it also requires a system designed around that voltage, including the inverter, charger, solar equipment, and DC-to-DC conversion for 12V house loads.
For a typical RV retrofit, staying at 12V is often the simplest and most cost-effective path. For a bus conversion, large toy hauler, or full-time off-grid build with high inverter loads, a higher-voltage design may be worth discussing before equipment is purchased.
Check every charging source
A lithium battery can only perform as well as the equipment charging it. This is where many otherwise good upgrades fall short.
Your RV converter or shore-power charger should have a LiFePO4-compatible charging profile. An older converter may charge lithium incompletely, use unsuitable voltage stages, or stay at a float voltage that is not ideal for the battery. Some converters can be reconfigured; others should be replaced.
Solar charge controllers also need settings appropriate for LiFePO4 chemistry. A programmable MPPT controller gives you more control over charging voltages and can make better use of available solar power than basic equipment. Confirm the controller’s voltage and current ratings match your planned array and battery bank.
Charging from a tow vehicle or motorhome alternator requires special care. Lithium batteries can accept high current for long periods, which may overwork an alternator or stress undersized factory wiring. A properly sized DC-to-DC charger regulates the charging current and provides a correct lithium profile. For many trailer owners, this is the difference between reliable road charging and a system that creates heat, voltage drop, or alternator problems.
Match the inverter to the battery bank
An inverter lets you run 120V AC loads from your battery bank, but it can drain a small system surprisingly fast. A 2,000W inverter can draw well over 150 amps from a 12V battery bank under heavy use. That is a serious demand, even if the appliance only runs for a few minutes.
Check both continuous and surge power requirements. Coffee makers, microwaves, air fryers, hair dryers, and power tools can all create high draws. The battery’s battery management system, or BMS, must support the current your inverter can demand. So must the cabling, fuse, disconnect, busbars, and terminals.
A larger inverter is not automatically better. It may have higher idle consumption, and it can encourage loads that overwhelm a modest battery bank. Choose an inverter around the appliances you truly need, then build the battery and wiring system to support it safely.
Plan for cold-weather charging
LiFePO4 batteries should not be charged below freezing unless the battery is specifically designed to manage that condition. Discharging in cold weather is generally less restrictive, but charging a frozen lithium battery can cause permanent damage.
If you camp in freezing conditions, choose a battery with low-temperature charging protection, self-heating capability, or both. Low-temperature protection prevents charging until battery cells are warm enough. Self-heating batteries use a portion of incoming charge power to warm the cells before normal charging begins.
Battery location matters as much as the feature list. An insulated, conditioned interior compartment may protect the bank better than an exposed exterior bay. If an exterior installation is unavoidable, account for temperature swings before relying on solar or alternator charging during winter travel.
Installation details that protect your investment
Lithium batteries are straightforward to install when the system is designed correctly, but high-current DC power deserves respect. Use appropriately sized copper cable for the expected current and cable length. Install a properly rated fuse close to the battery’s positive terminal, along with a battery disconnect that is accessible in an emergency or during service.
Make secure, clean connections and torque terminals to the battery manufacturer’s specification. Loose connections create resistance, heat, and voltage drop. Confirm battery mounting is solid enough for road vibration, especially if you are replacing heavy lead-acid batteries with lighter lithium units in an existing tray.
Before the first trip, test every charging source separately: shore power, solar, alternator charging, and generator charging if applicable. Then test expected loads while watching voltage, current, and battery state of charge. This step catches configuration mistakes at home instead of at a campsite.
Avoid buying into proprietary limits
An RV power system should be serviceable and expandable. Look for batteries with documented specifications, clear BMS limits, standard connection options, and compatibility with common chargers, inverters, and solar components. You should not have to replace an entire system because one proprietary component is unavailable or unsupported.
Open communication options can be especially valuable in larger systems where a compatible inverter or monitor can display battery data accurately. For simpler 12V installations, clear app monitoring or a quality battery monitor can still help you understand real consumption and charging behavior.
BigBattery offers LiFePO4 options across common RV and larger system voltages, with direct access to Texas-based experts for buyers who want help matching battery capacity, charging equipment, and inverter demand before ordering.
A battery upgrade is most satisfying when it disappears into the background. Size it for the way you camp, protect it with the right charging and wiring, and your RV will have power when the campground pedestal is miles away.